By the way, kita tidak akan mengulas terlalu jauh tentang sejarah atau asal-usul dari distro ini, yang akan kita bahas sekarang adalah tutorial meng-install Freespire 2.0 dalam bentuk screenshot.
Sekilas tentang Freespire 2.0
Freespire adalah distro turunan dari Ubuntu. Seperti distro lain, software yang disertakan dalam distro ini bersifat free dan open source. Namun tetap memberikan pilihan bagi Anda yang ingin meng-install software-software proprietary dalam sistem operasi Anda.
Berikut ini fitur-fitur dari Freespire:
• a community-driven, Ubuntu-based Linux distribution.
• always made available for free use, distribution and modification, now and forever.
• powerful enough for the most sophisticated Linux user or developer, yet easy enough for someone completely new to Linux.
• available with 100% free, open source software or with the option to include legally licensed, 3rd party codecs, drivers and software.
• it legally supports (or has one-click access to support): MP3, DVD, Windows Media, QuickTime, Java, Flash, Real, ATI drivers, nVidia drivers, Adobe Acrobat Reader, proprietary WiFi drivers, fonts, and so on.
• it provides free access to the entire Freespire open source application pool using apt-get.
• it offers optional use of the Linspire CNR (click and run) Service.
• it includes a total development environment, which can be easily expanded using apt-get or CNR.
• it provides easy-to-use yet advanced installation and configuration options.
• it utilizes the community IRMA project to provide Freespire in dozens of different languages.
• community supported at no charge, with optional enhanced support available.
Begin Installing
Jika Anda belum memiliki distro Freespire 2.0, silakan download dari beberapa alternatif berikut ini:
Freespire 1.0.13 Final (ISO) (686 MB)
Freespire 1.0.13 Final (Torrent) ( MB)
Freespire 2.0 RC1 (ISO) (667 MB)
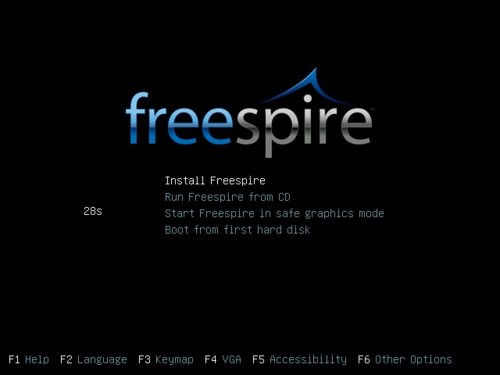
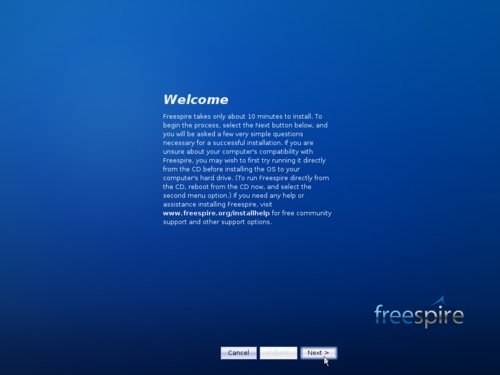
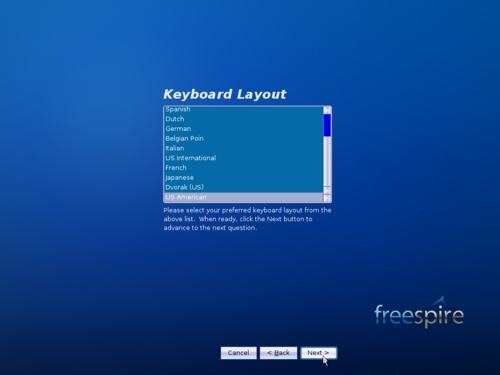
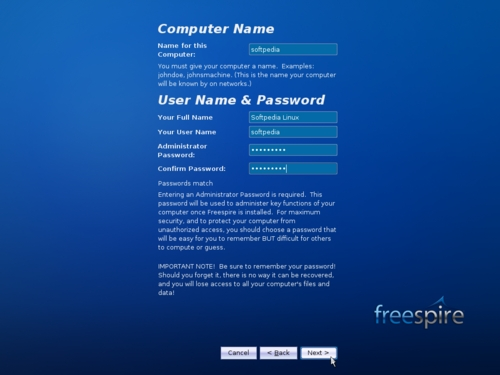
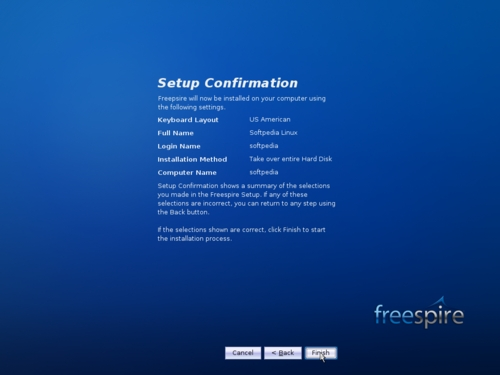
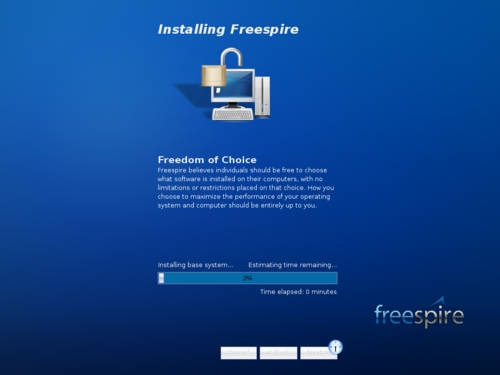
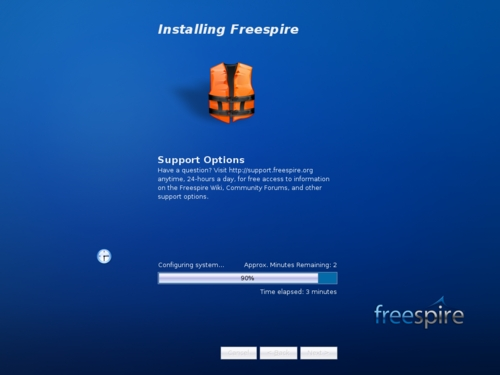
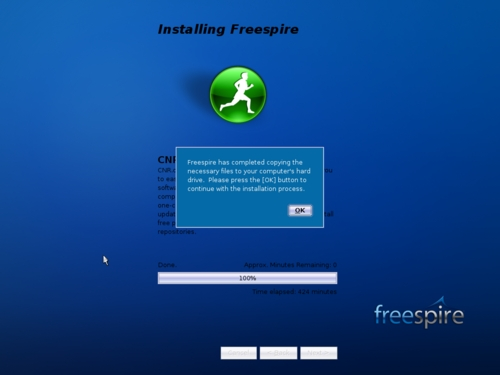
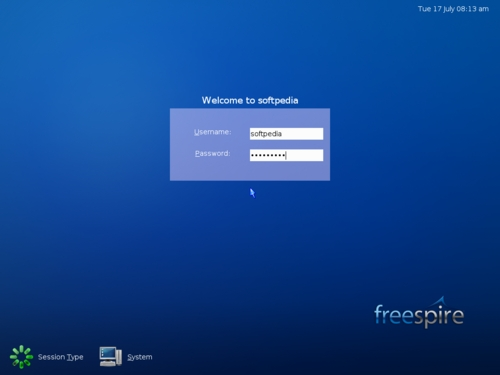
Setelah selesai download, pastikan md5sum sama dengan file aslinya, biar tidak terjadi hal-hal yang tidak diinginkan (hehehe). Masukkan CD ke drive CDRom dan mulai reboot. Langkah selanjutnya silahkan lihat screenshot berikut ini:


Sumber Tulisan:
Softpedia
Disadur dan diterjemahkan oleh:
Toko Linux OY
PS: Maaf ya, screenshot-nya kecil-kecil, demi pengiritan bandwith para pembaca sekalian yang budiman, terima kasih...
Tidak ada komentar:
Posting Komentar